TetrisBot
(Sep 2014) CS224: Experimental Robotics
Intro
This past quarter, I took a class called Experimental Robotics and finally got hands on with an industrial robot. I’d learned control theory beforehand in the pre-requisite class, but working with an actual robot definitely solidified my understanding of the topic.
You can see all of our code on GitHub.
The writing below is copy-pasted from the final report of the project.


Abstract
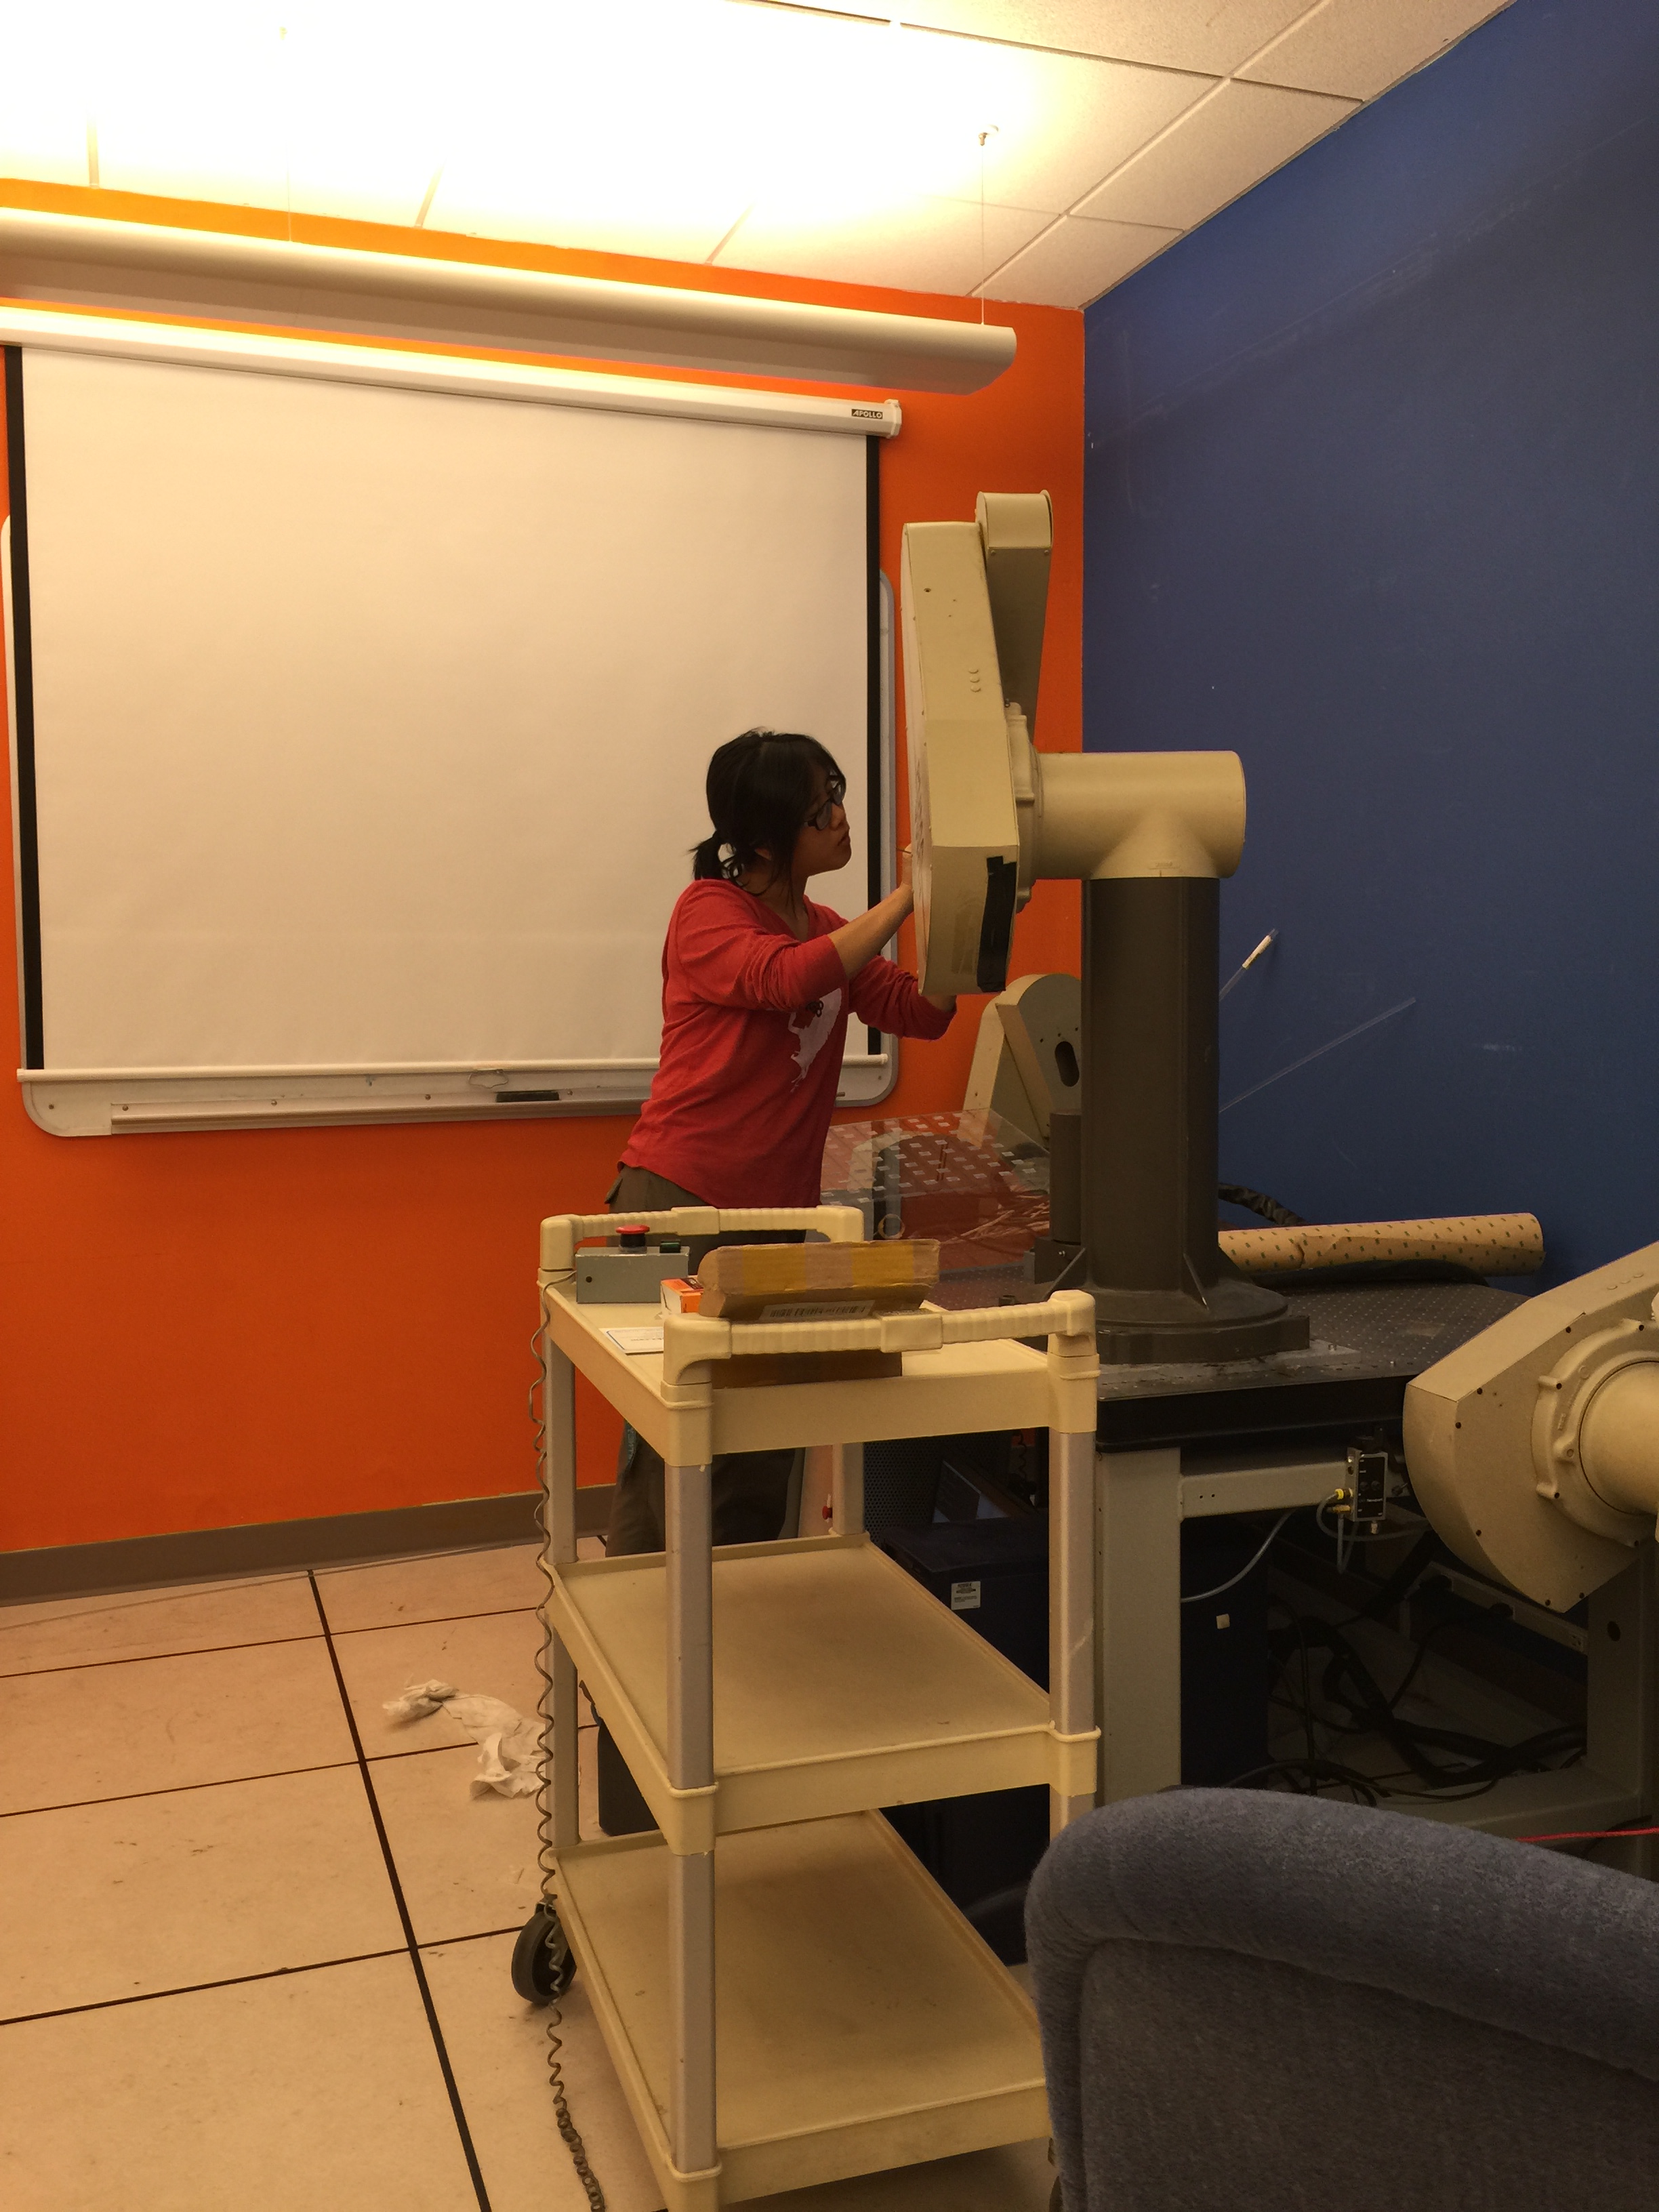
For our project, we built Tetris. Just as art imitates life and life imitates art, the toy blocks of our youths beget the classic tile puzzle video game, and now thanks to the PUMA arm you can play Tetris with real life blocks: picked up, moved around, and deposited on a physical game board.
Members
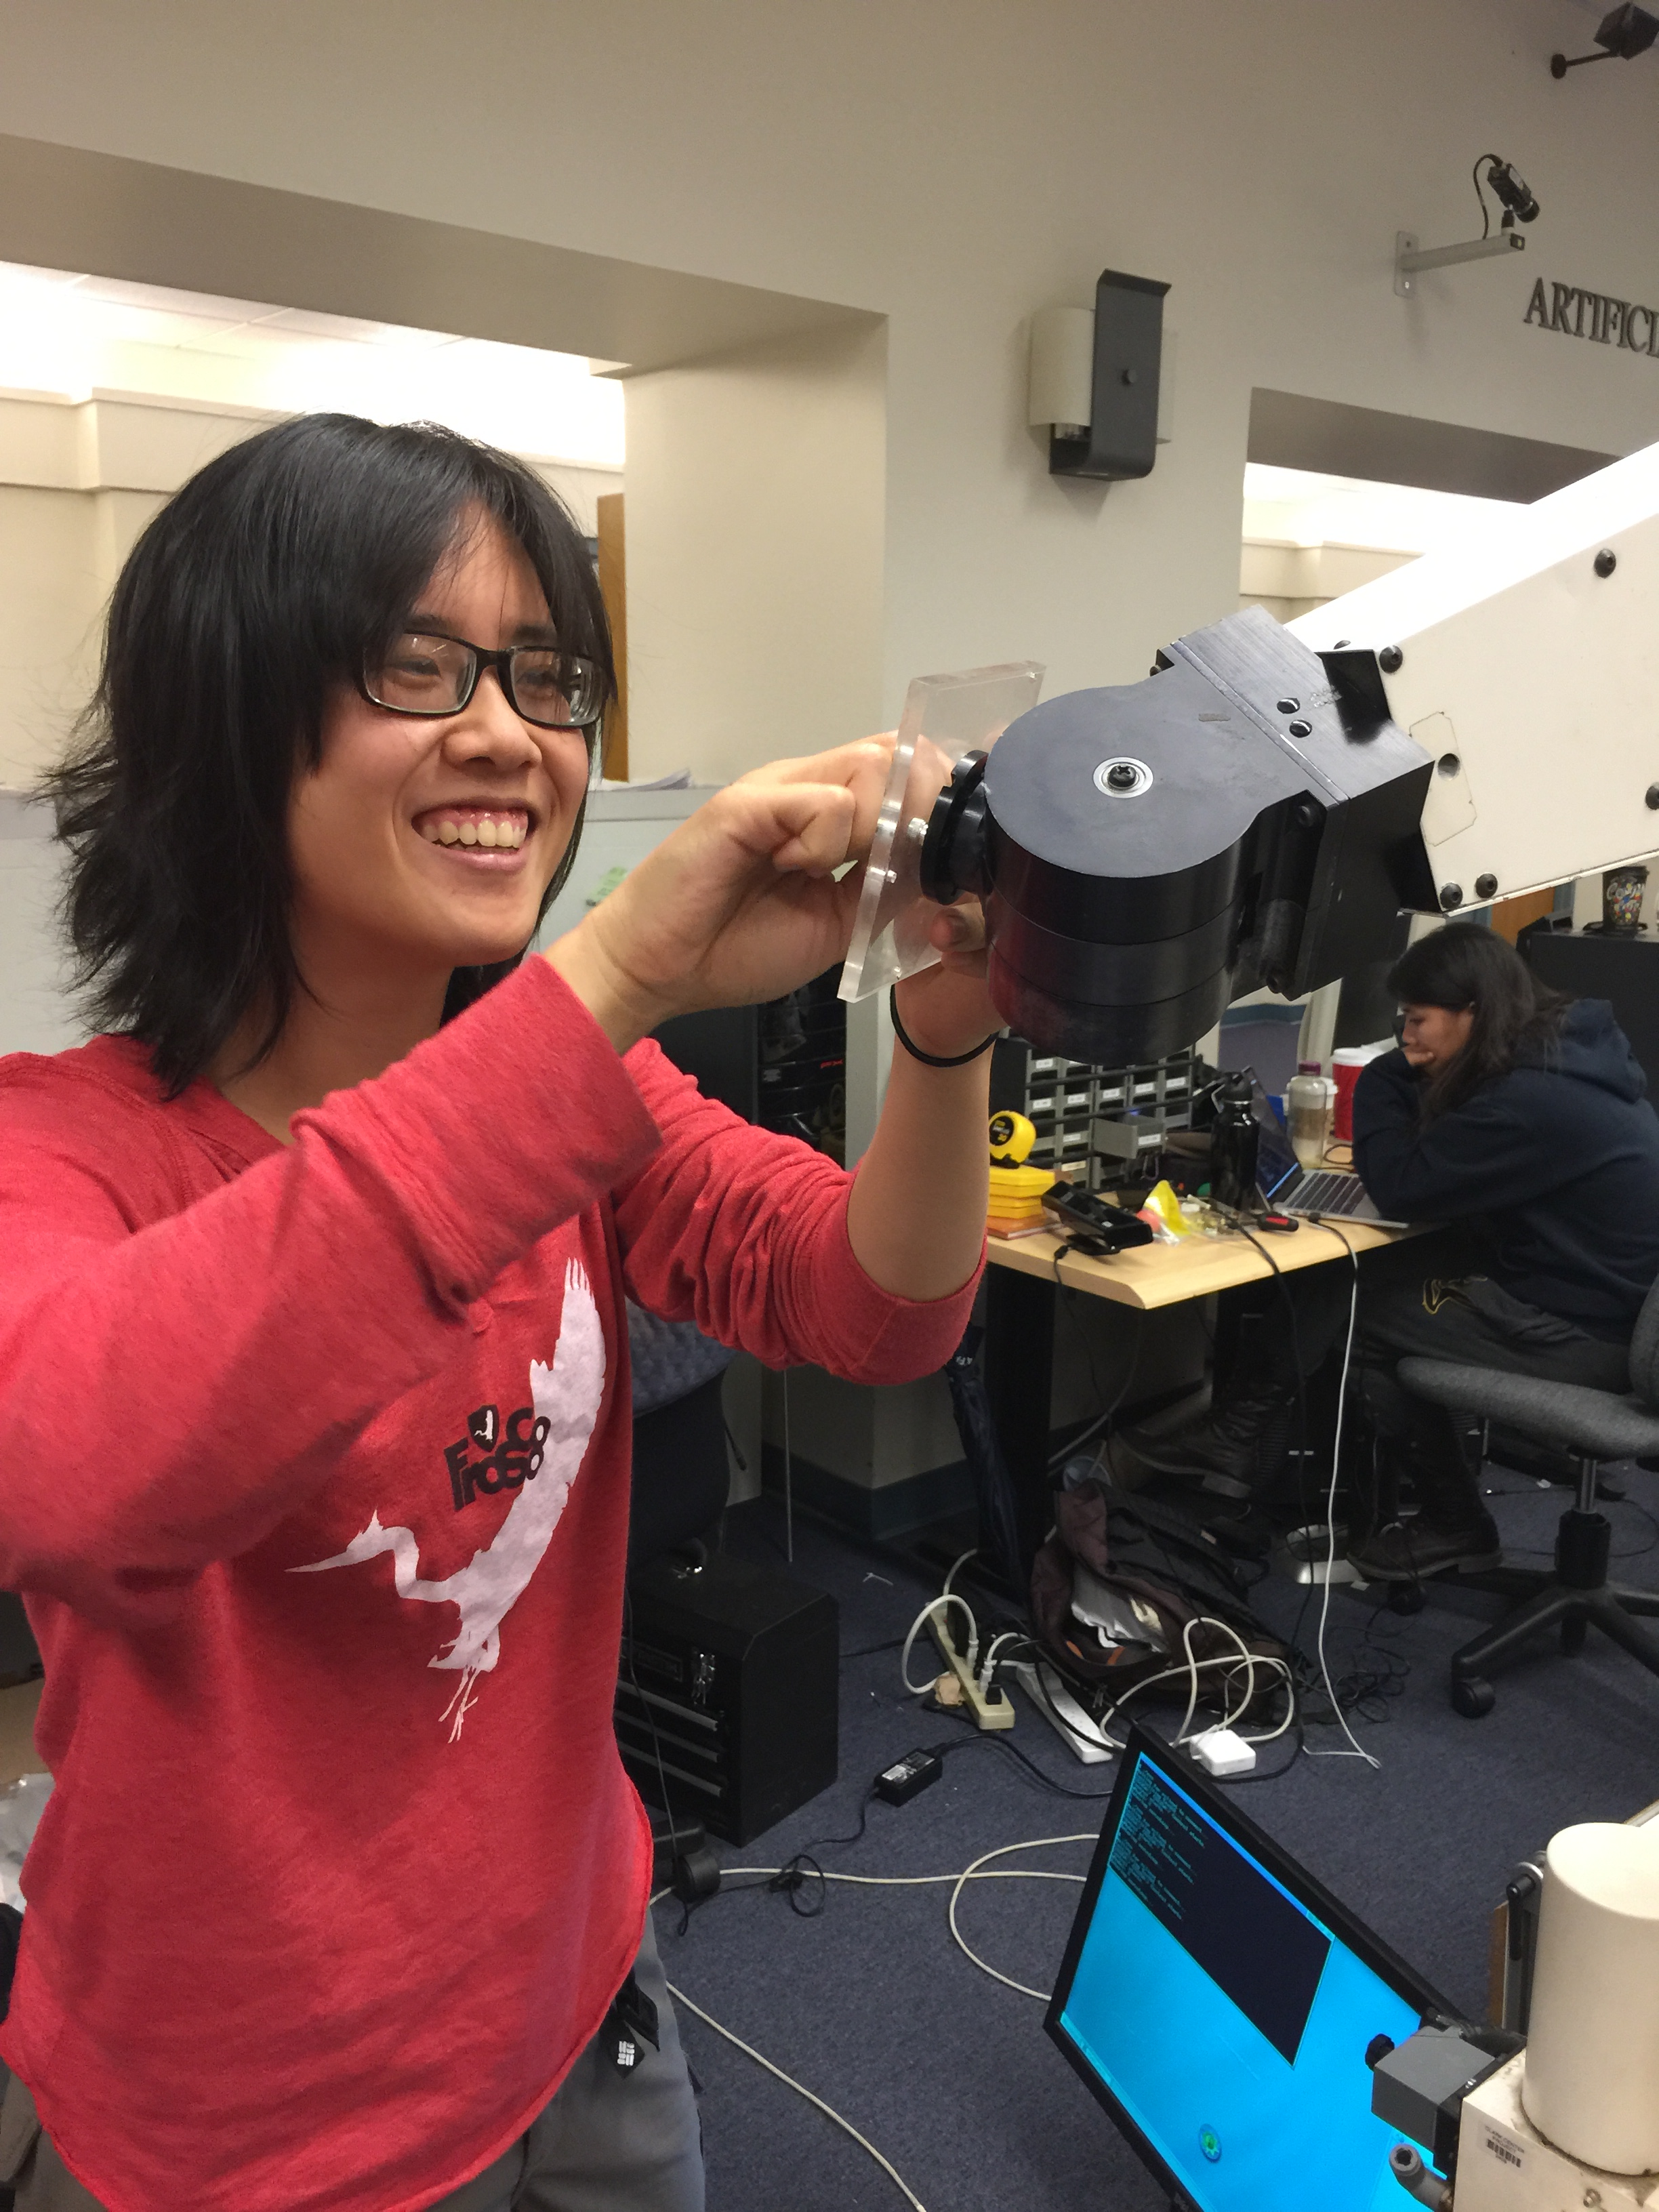
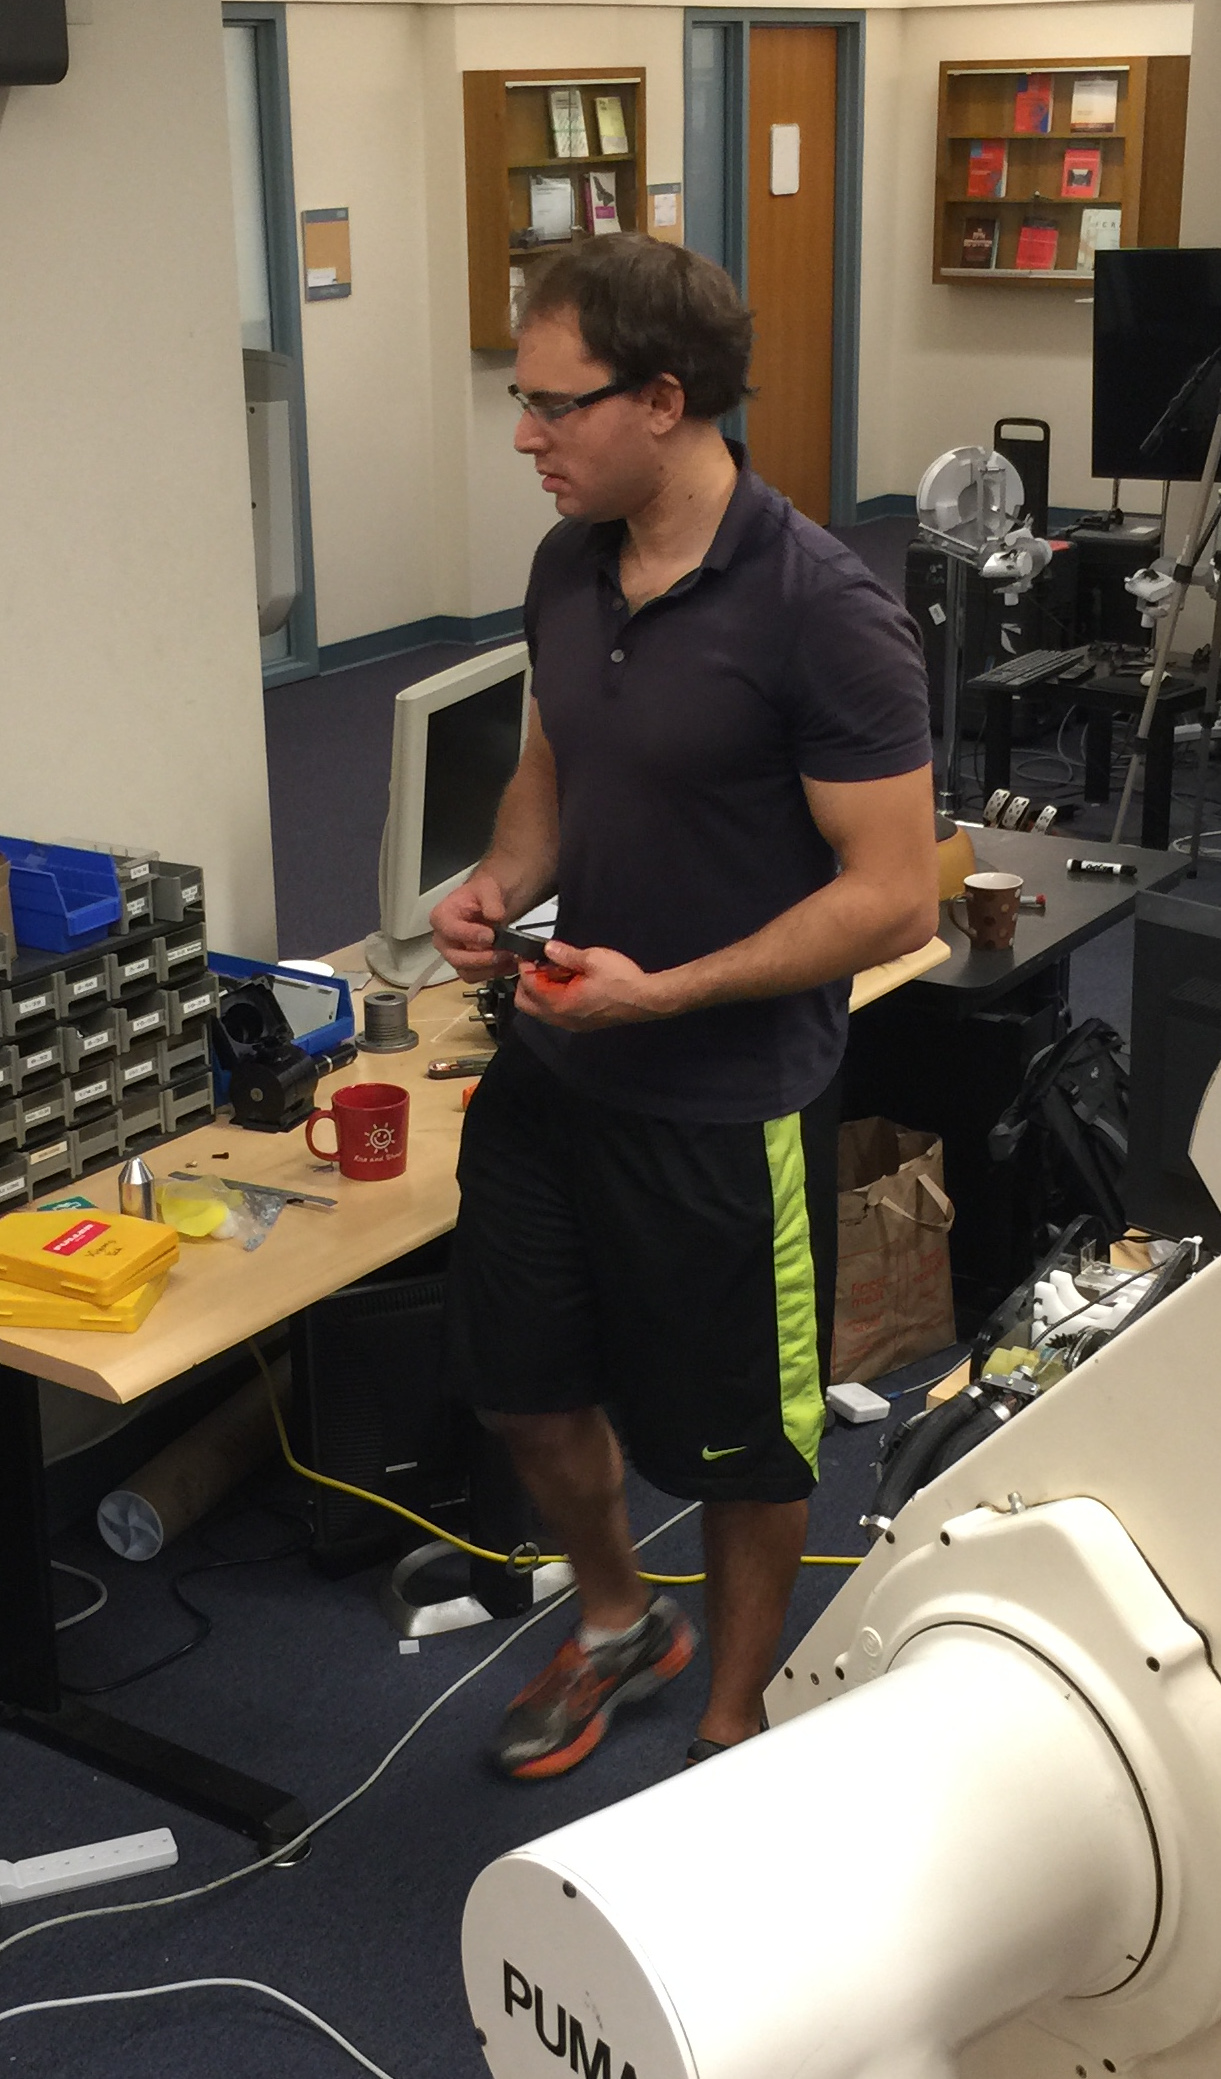

Introduction
We thought it would be interesting to use a robot to turn a normally 2D game into 3D. We decided on Tetris because it is a classic game that everyone knows, and feasible to do in 3D. Also, a tetris playing robot seemed like a perfect way to use all the concepts we’ve learned in the class. Joint space, task space, figuring out an acceptable workspace, singularity avoidance, obstacle avoidance, and compliance were all techniques we needed in order to pull this project off.
Simulation
Before working with the actual robot, we ran everything in simulation using the SCL library. We have 4 tasks. The first one is located at the end-effector to control position. The other three are slightly offset 0.1 away from the first task in the x, y, and z directions respectively. These last three tasks are used to orient the end-effector.
Each of these tasks are controlled with a dynamic controller in task space. We apply a torque \(T = J' * ( M * (kp*(x_des - x) - kv*dx) + p)\). We originally wanted to account for centrifugal/coriolis forces as well (essentially recreate the gotoController from the last homework), but according to some documentation in SCL this may cause instabilities. However, we do not anticipate our robot moving so quickly that the centrifugal/coriolis forces will be a large issue.
We then hooked up a python script of a Tetris game to the simulation so that we could watch the robot carry out the actions as we sent them. The result is below.
The edges of viable workspace were found via trial and error, and we created the gameboard within that space.
As you can see, it works nicely. There were some interesting bugs - if the starting x-coordinate was too close to the base of the robot (too close to zero), the forces generated by the tasks controlling the end-effector orientation would actually turn the end-effector backwards towards the robot. So we need to be careful to stay far enough out. After testing in the simulation, we determined that x should be initialized at around 0.4.
Workspace
The next thing we did was to calculate our feasible workspace. The Tetris gameboard is a 20 by 10 2-dimensional grid, and we found the coordinates in task space of such a grid the robot could operate in without hitting any singularities. In reality, this was a 20” by 40” rectangle. In task space, X (the horizontal axis) ranges from -0.25 to 0.25, and Z (the vertical axis) ranges from -0.5 to 0.5. When we’re at the gameboard, the Y axis (controlling depth) is changed only when we’re placing a block, when the PUMA arm moves forward to stick the block to the acrylic pane. In a neutral, block dropping position, the Y value is -0.7. When the arm is pushed forward to place a block, the Y value is -0.8.
After getting all the calibration down, we calculated the corresponding task space coordinates and quaternions for each grid cell and rotation.
End-effector
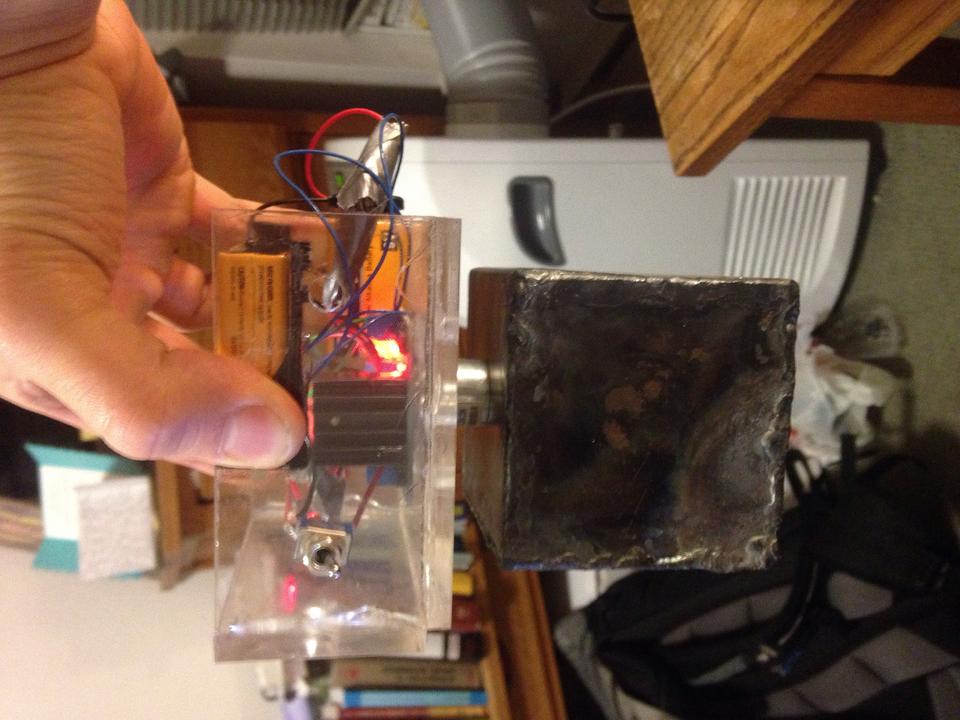
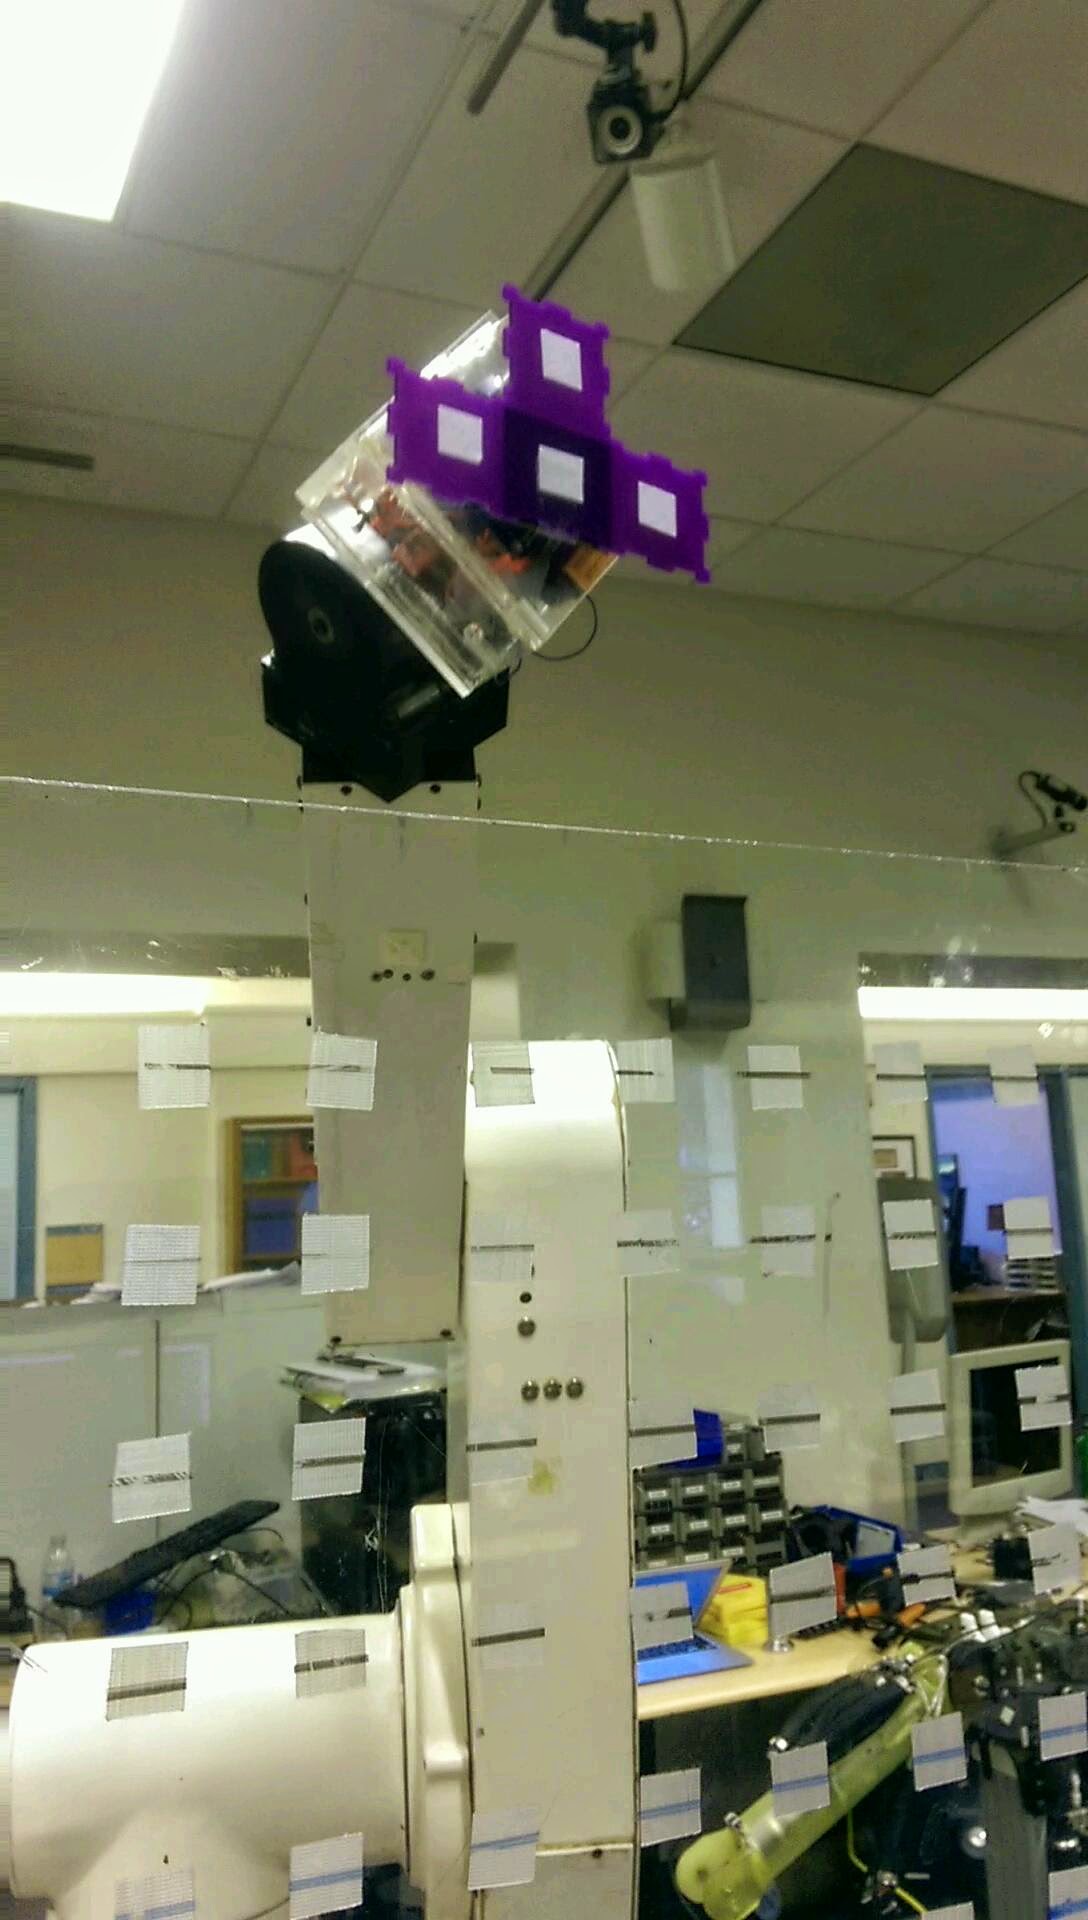
Our end-effector is an electromagnet, controlled by wireless radio receiver. We send it commands via a USB dongle - ‘a’ to turn the magnet on and ‘b’ to turn it off. The end-effector draws about 300mA of current, and is powered by four 9V batteries. We taped a thin sheet of steel to each piece of the tetromino blocks for electromagnet to attach to.
Tetrominos
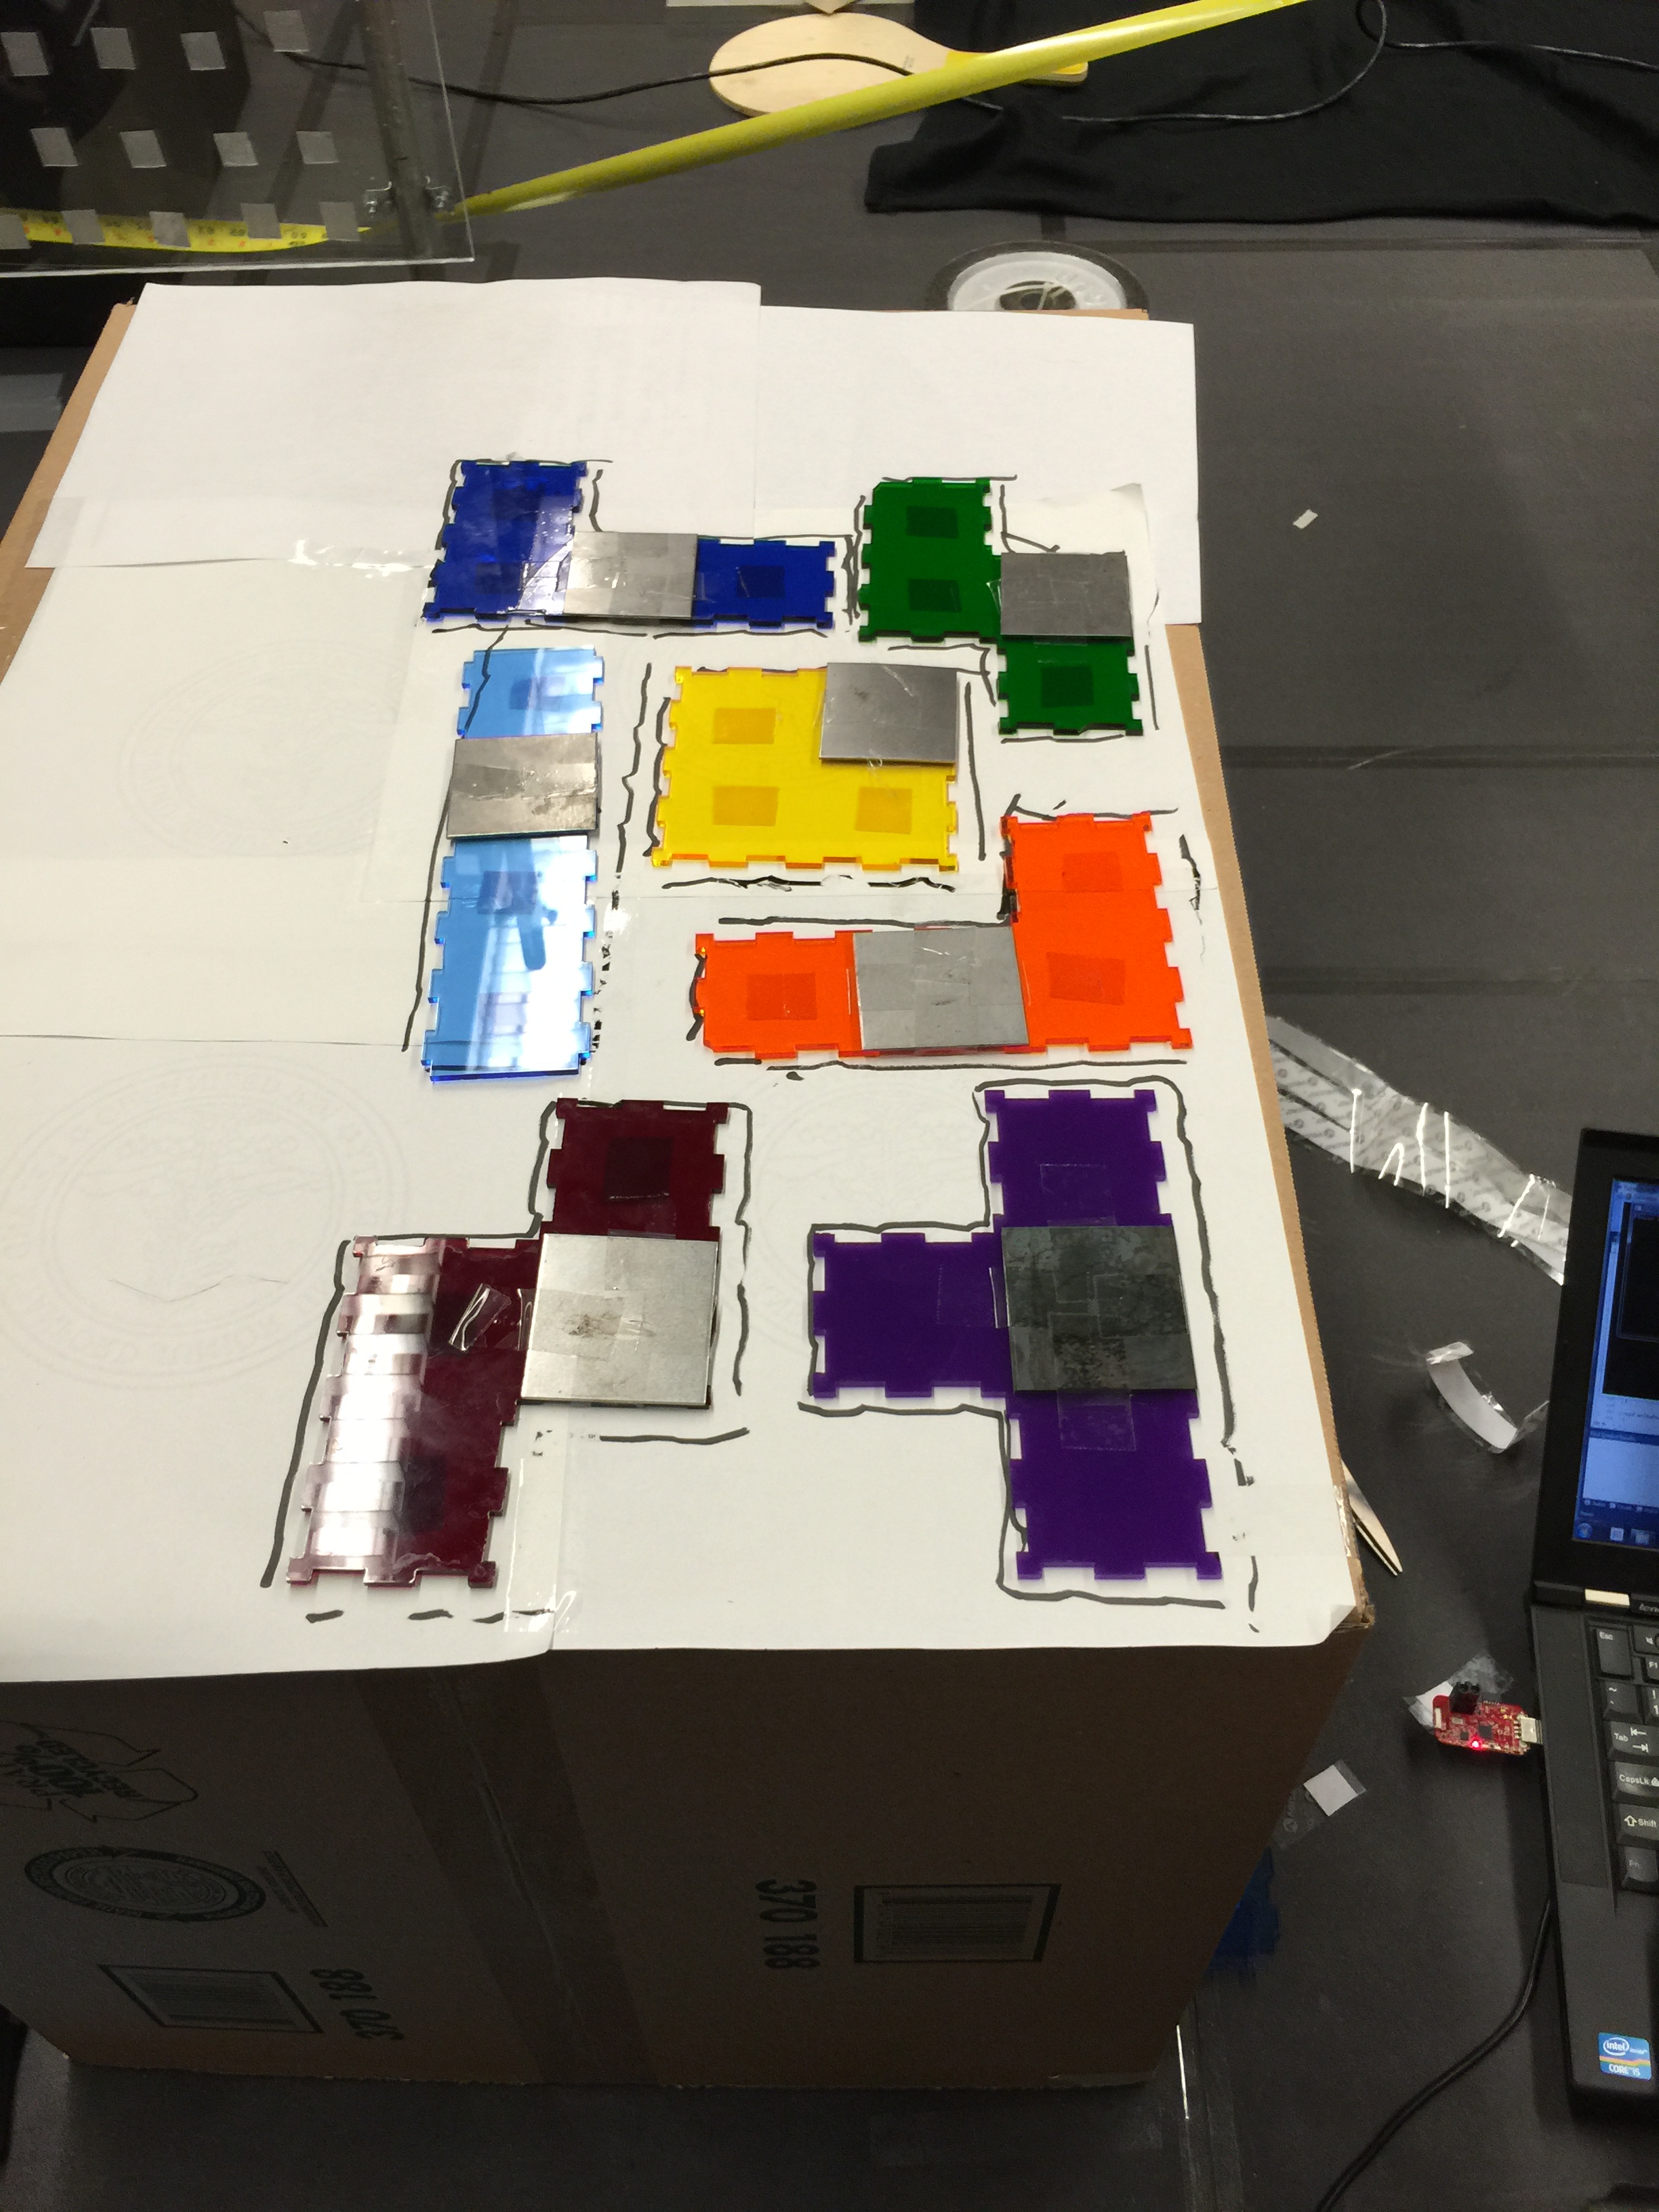
A tetromino is a block in the Tetris game (for example, a line block or a square block). As our project is real-life tetris, we need to build real-life tetrominos. After some discussion, we decided on making them out of acrylic. We lasercut them, and the original plan was to assemble them into 3D blocks.
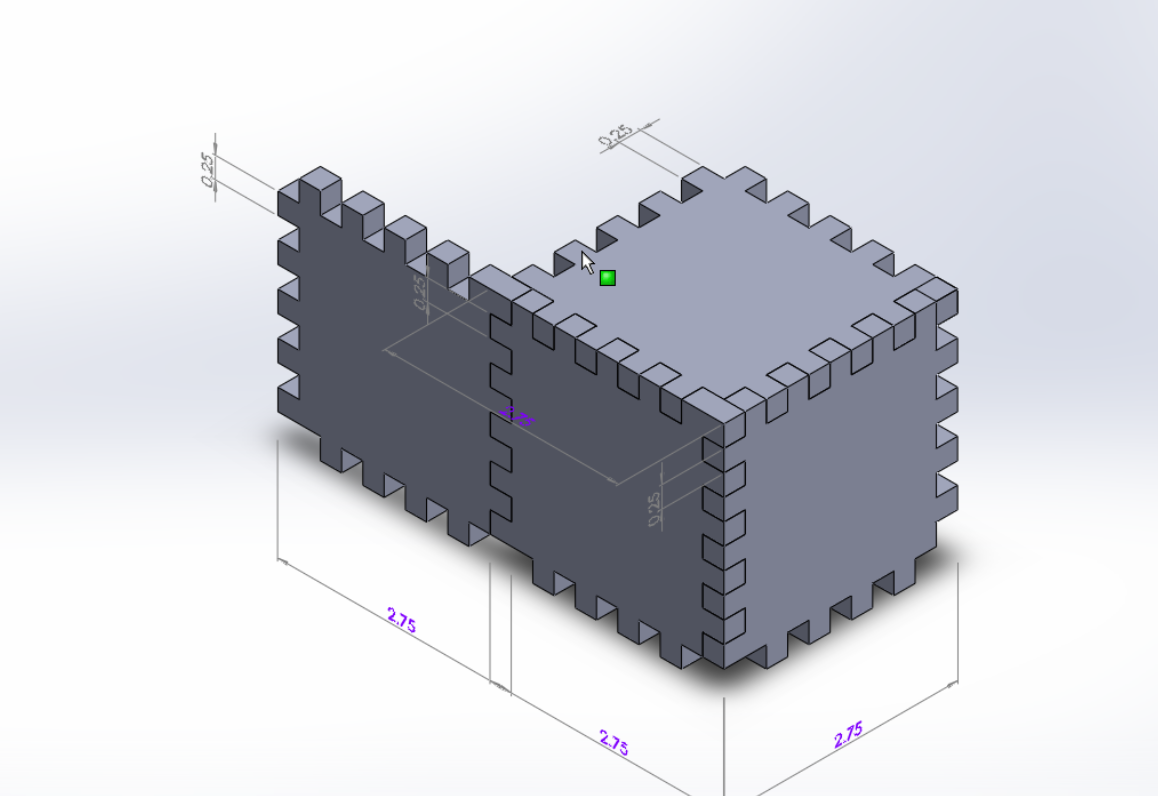
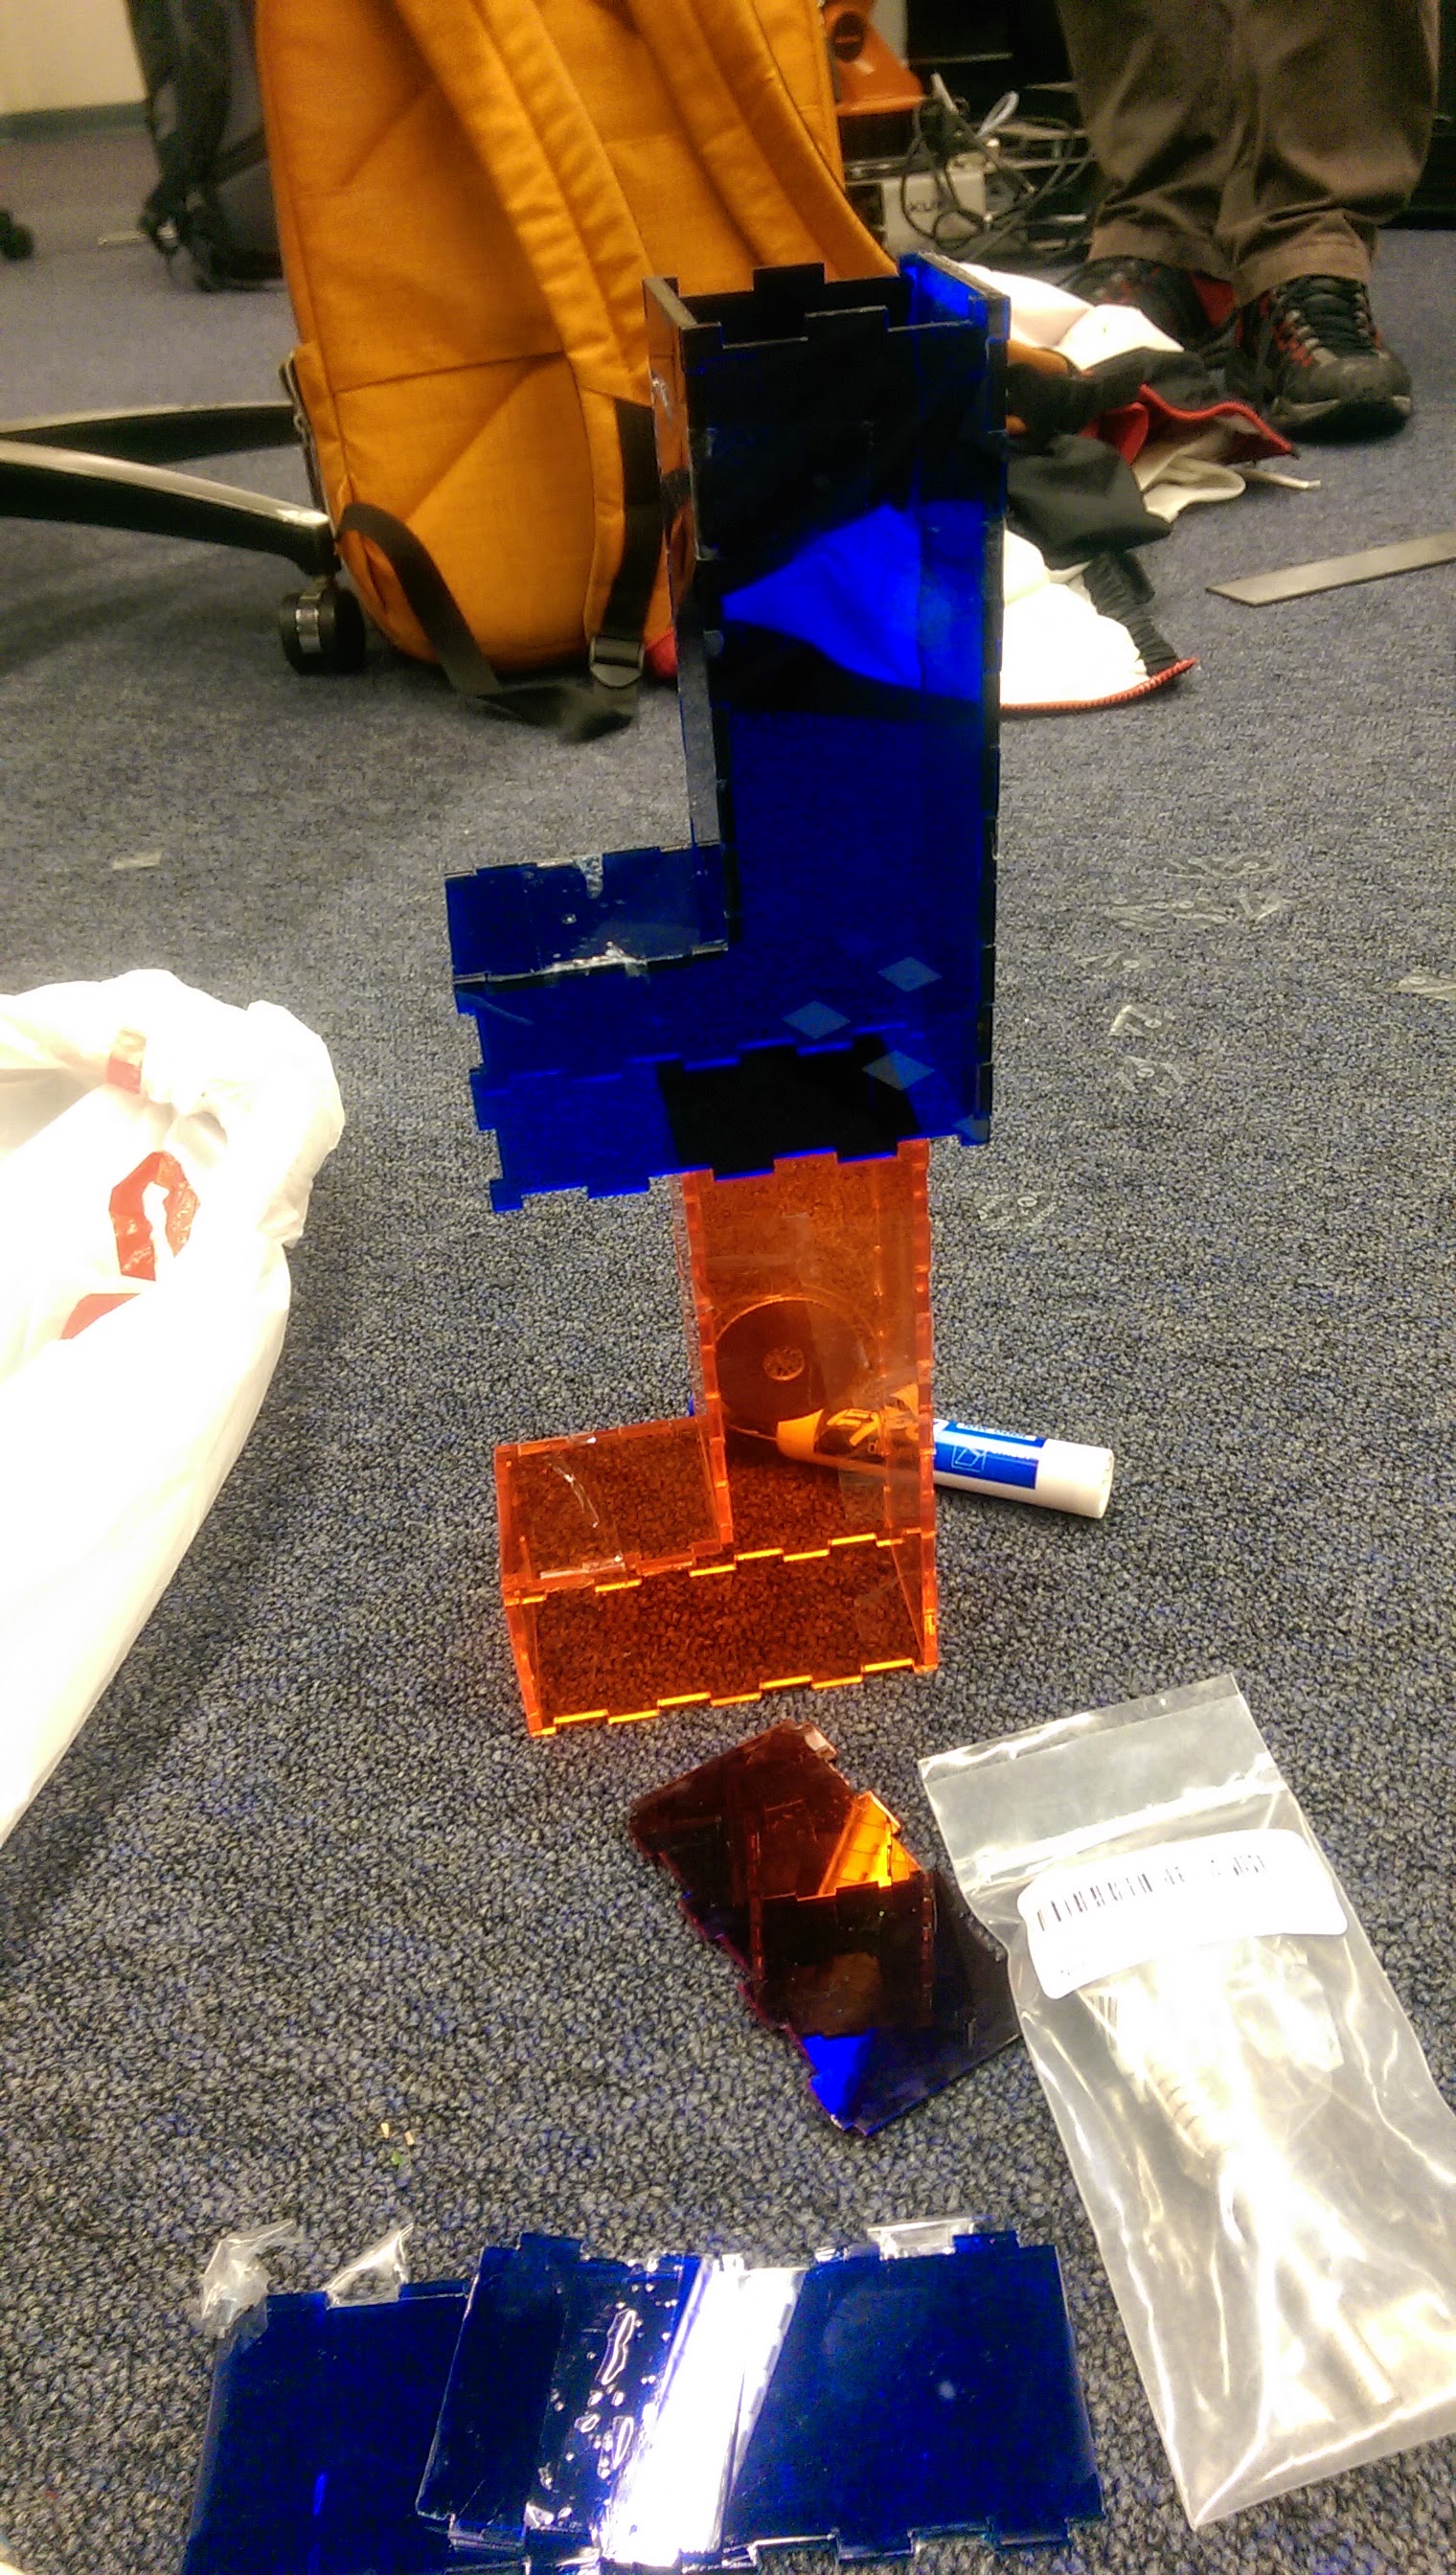
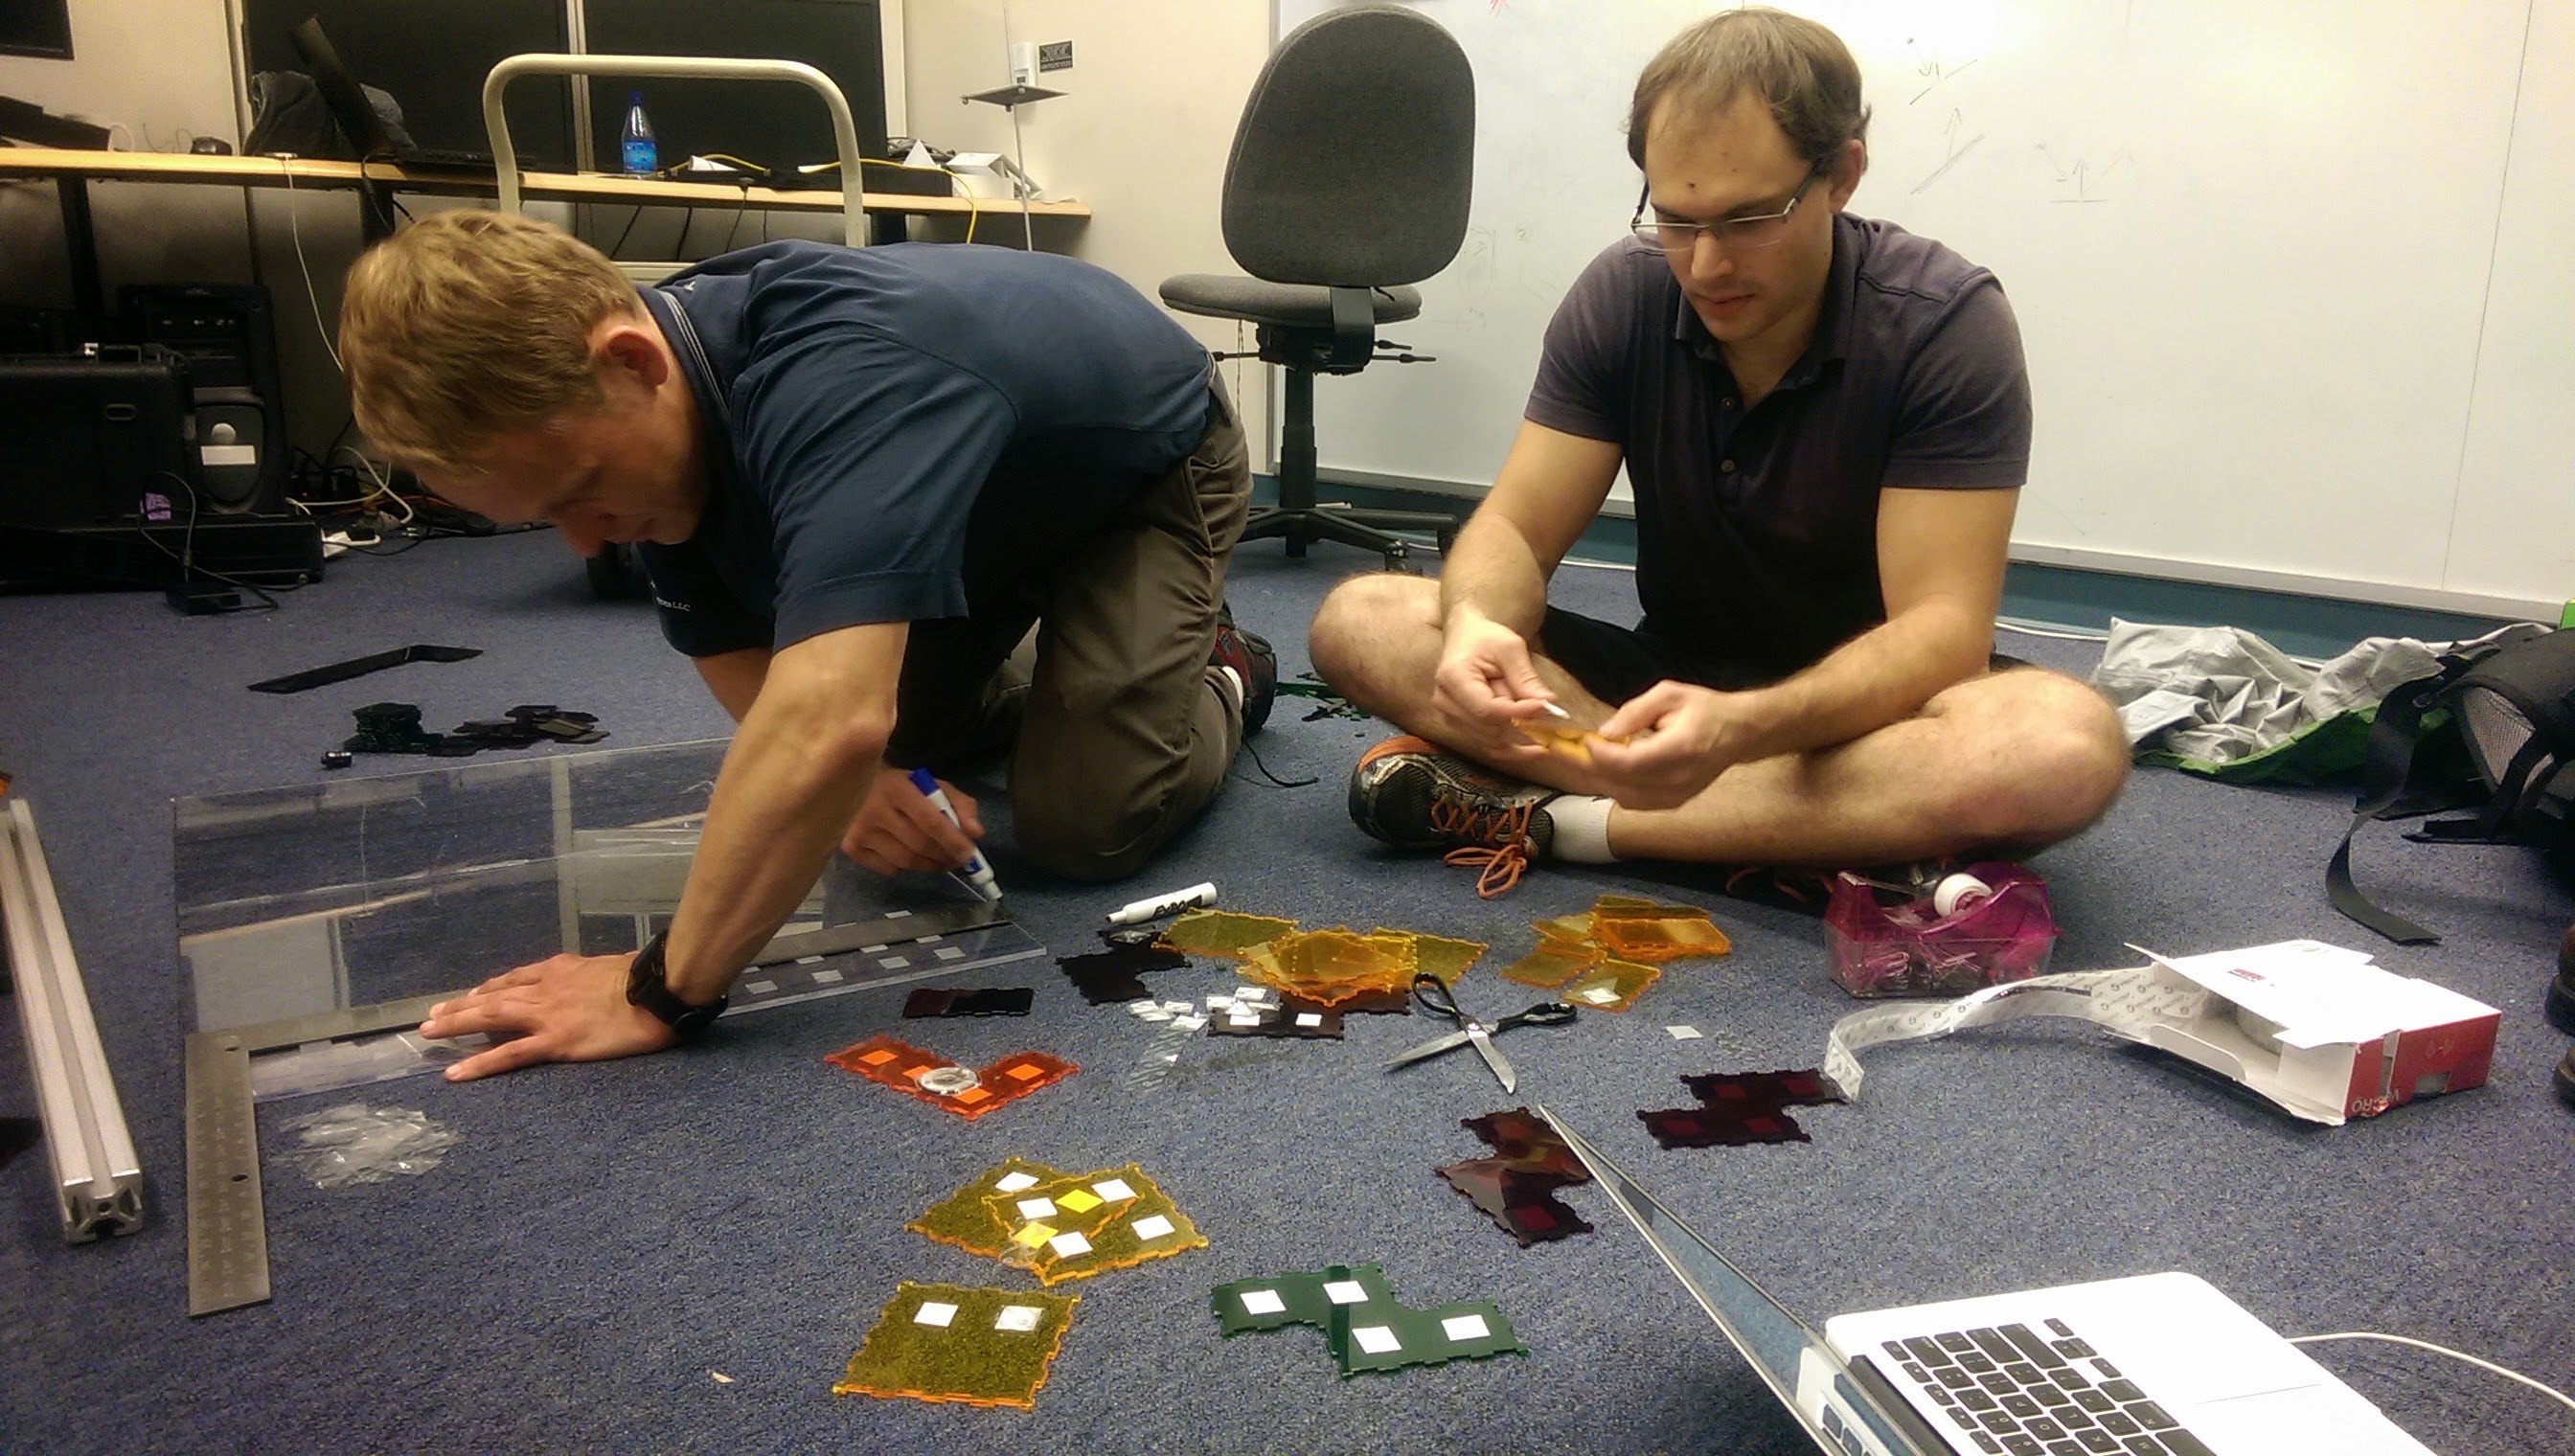
However, testing with the end-effector showed us that the 3-D blocks we wanted were too heavy for the electromagnet to hold up reliably. Therefore, we made a last-minute adjustment and instead decided to have 2-D blocks, which would be significantly lighter.
Controlling the Game
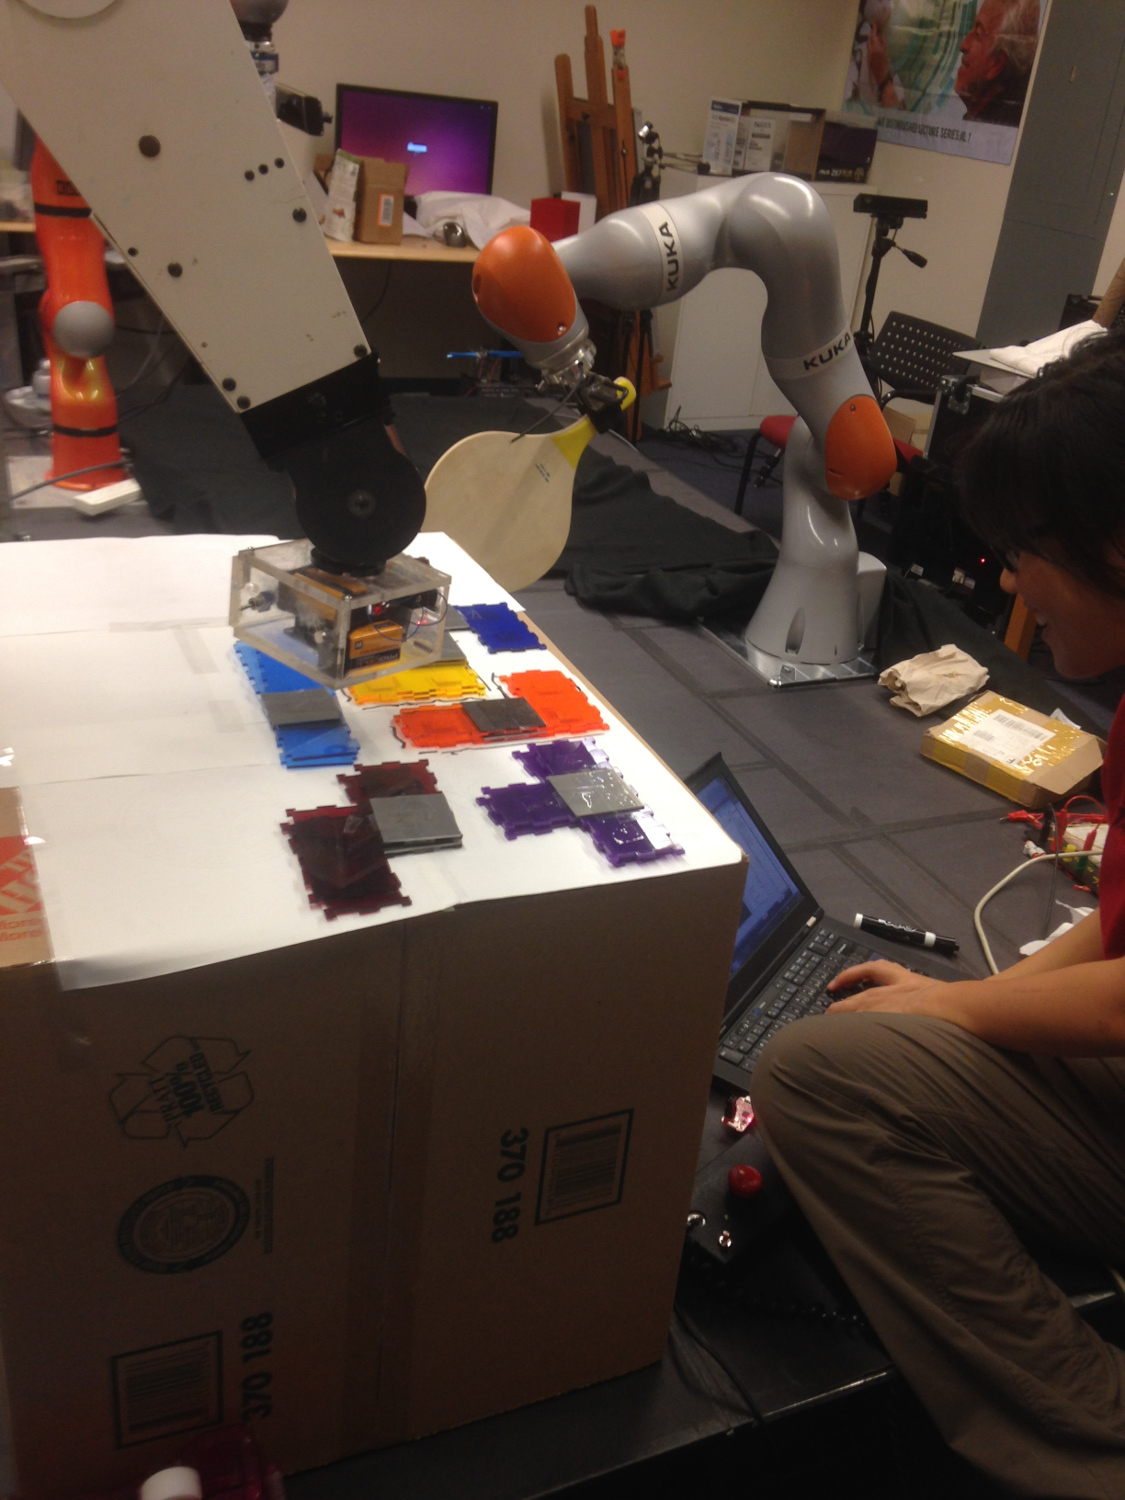
We used a python script to keep track of game play. The script runs a server, which allows two-way communication with PumaClient.cpp. The script tells PumaClient.cpp what grid cell the robot should be at, whether it should be setting down or picking up a block. PumaClient.cpp then takes the information and acts on it – it calculates the task space coordinates of the specified cells, or executes the setting down or picking up. It then replies to the server that the movement has been executed, at which point the script sends the next command. All movement is through task space control with dynamic compensation.
Picking up Blocks
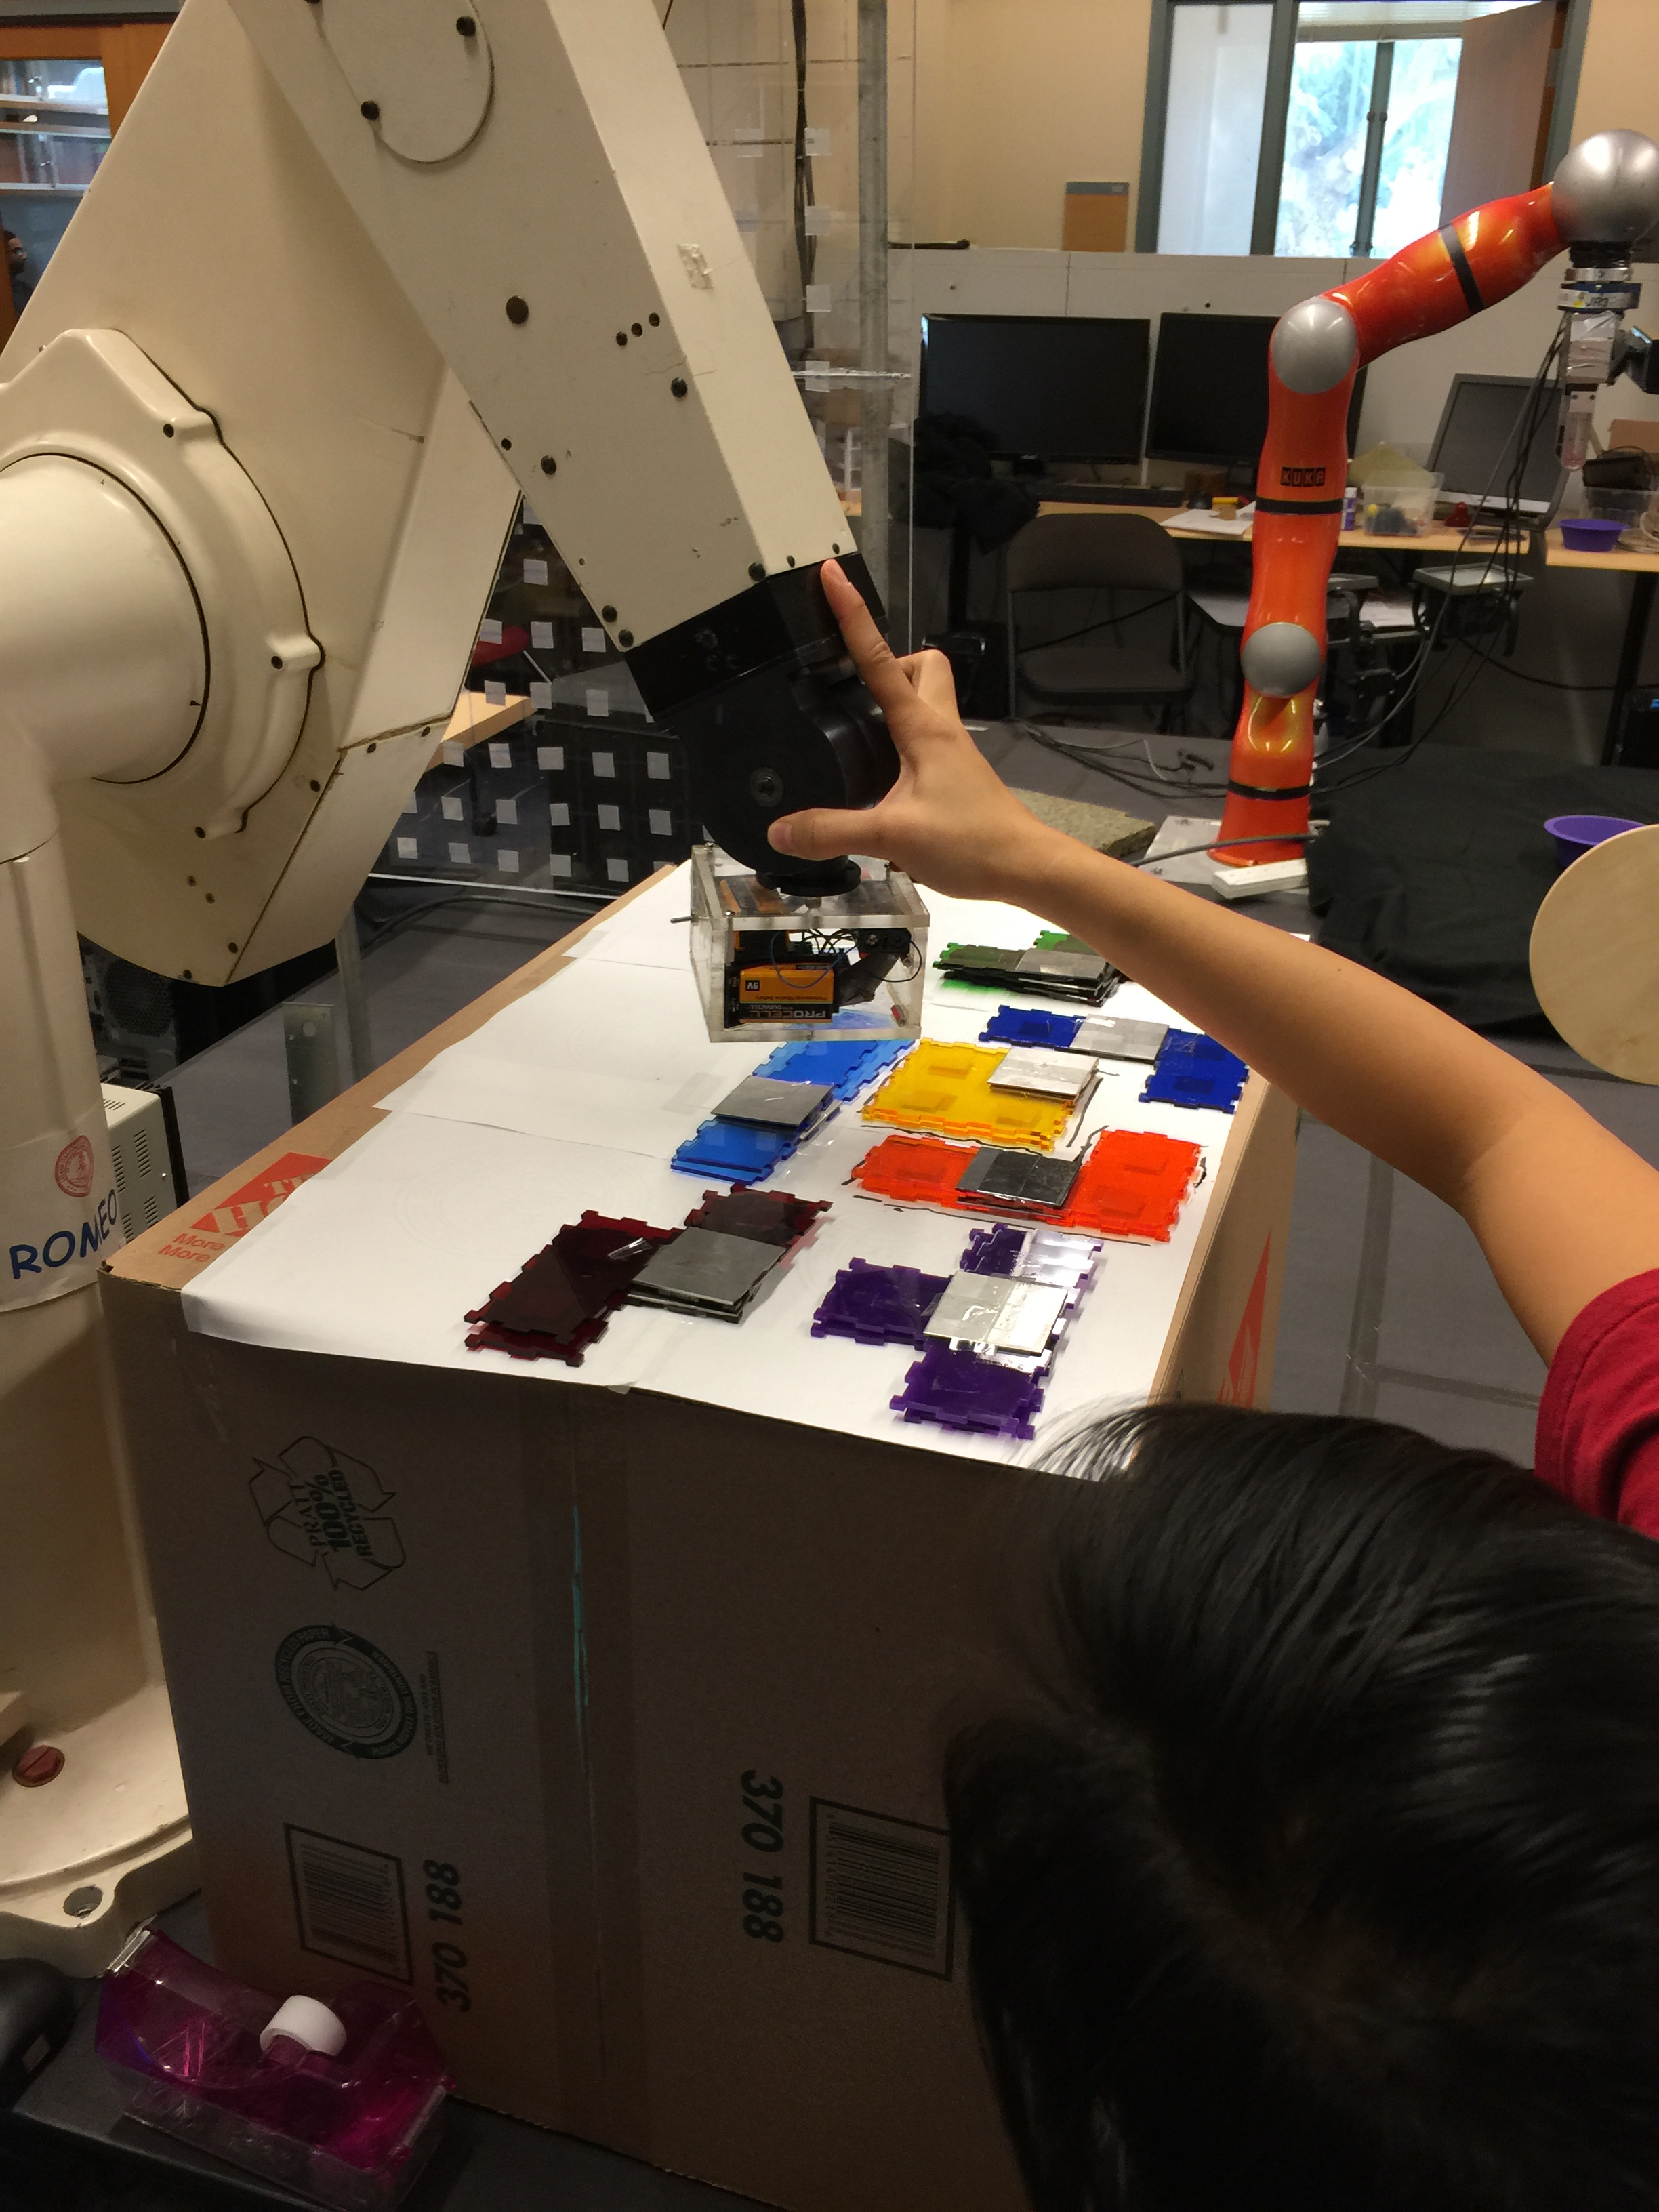
We kept each tetromino shape in a separate stack, and recorded the location of the stacks before running the robot, so that the robot would know where each type of block was.
The mechanics of picking up a piece is as follows:
- The robot moves the end-effector over a stack;
- It lowers the end-effector until it is touching the block;
- The electromagnet turns on and lifts up the block.
One complication was that we didn’t want the robot to break itself when pressing down on a block. Therefore, we introduced compliance by lowering the gains on joints 2 and 3 of the robot to a quarter of what they are when moving the blocks around. To be doubly safe, our pickup station was compliant as well — the blocks sat on a cardboard box.
Another difficulty we ran into was that the coupling between the joints did not allow the robot to move downwards in a straight line to pick up the block. Instead, it would veer off, sometimes missing the block completely, and other times hitting a singularity. We prevented the skew by having the robot start very close to the block, only an inch above. And after some testing, we found a small workspace where the robot could safely move that one inch down without going into a singularity.
Placing blocks
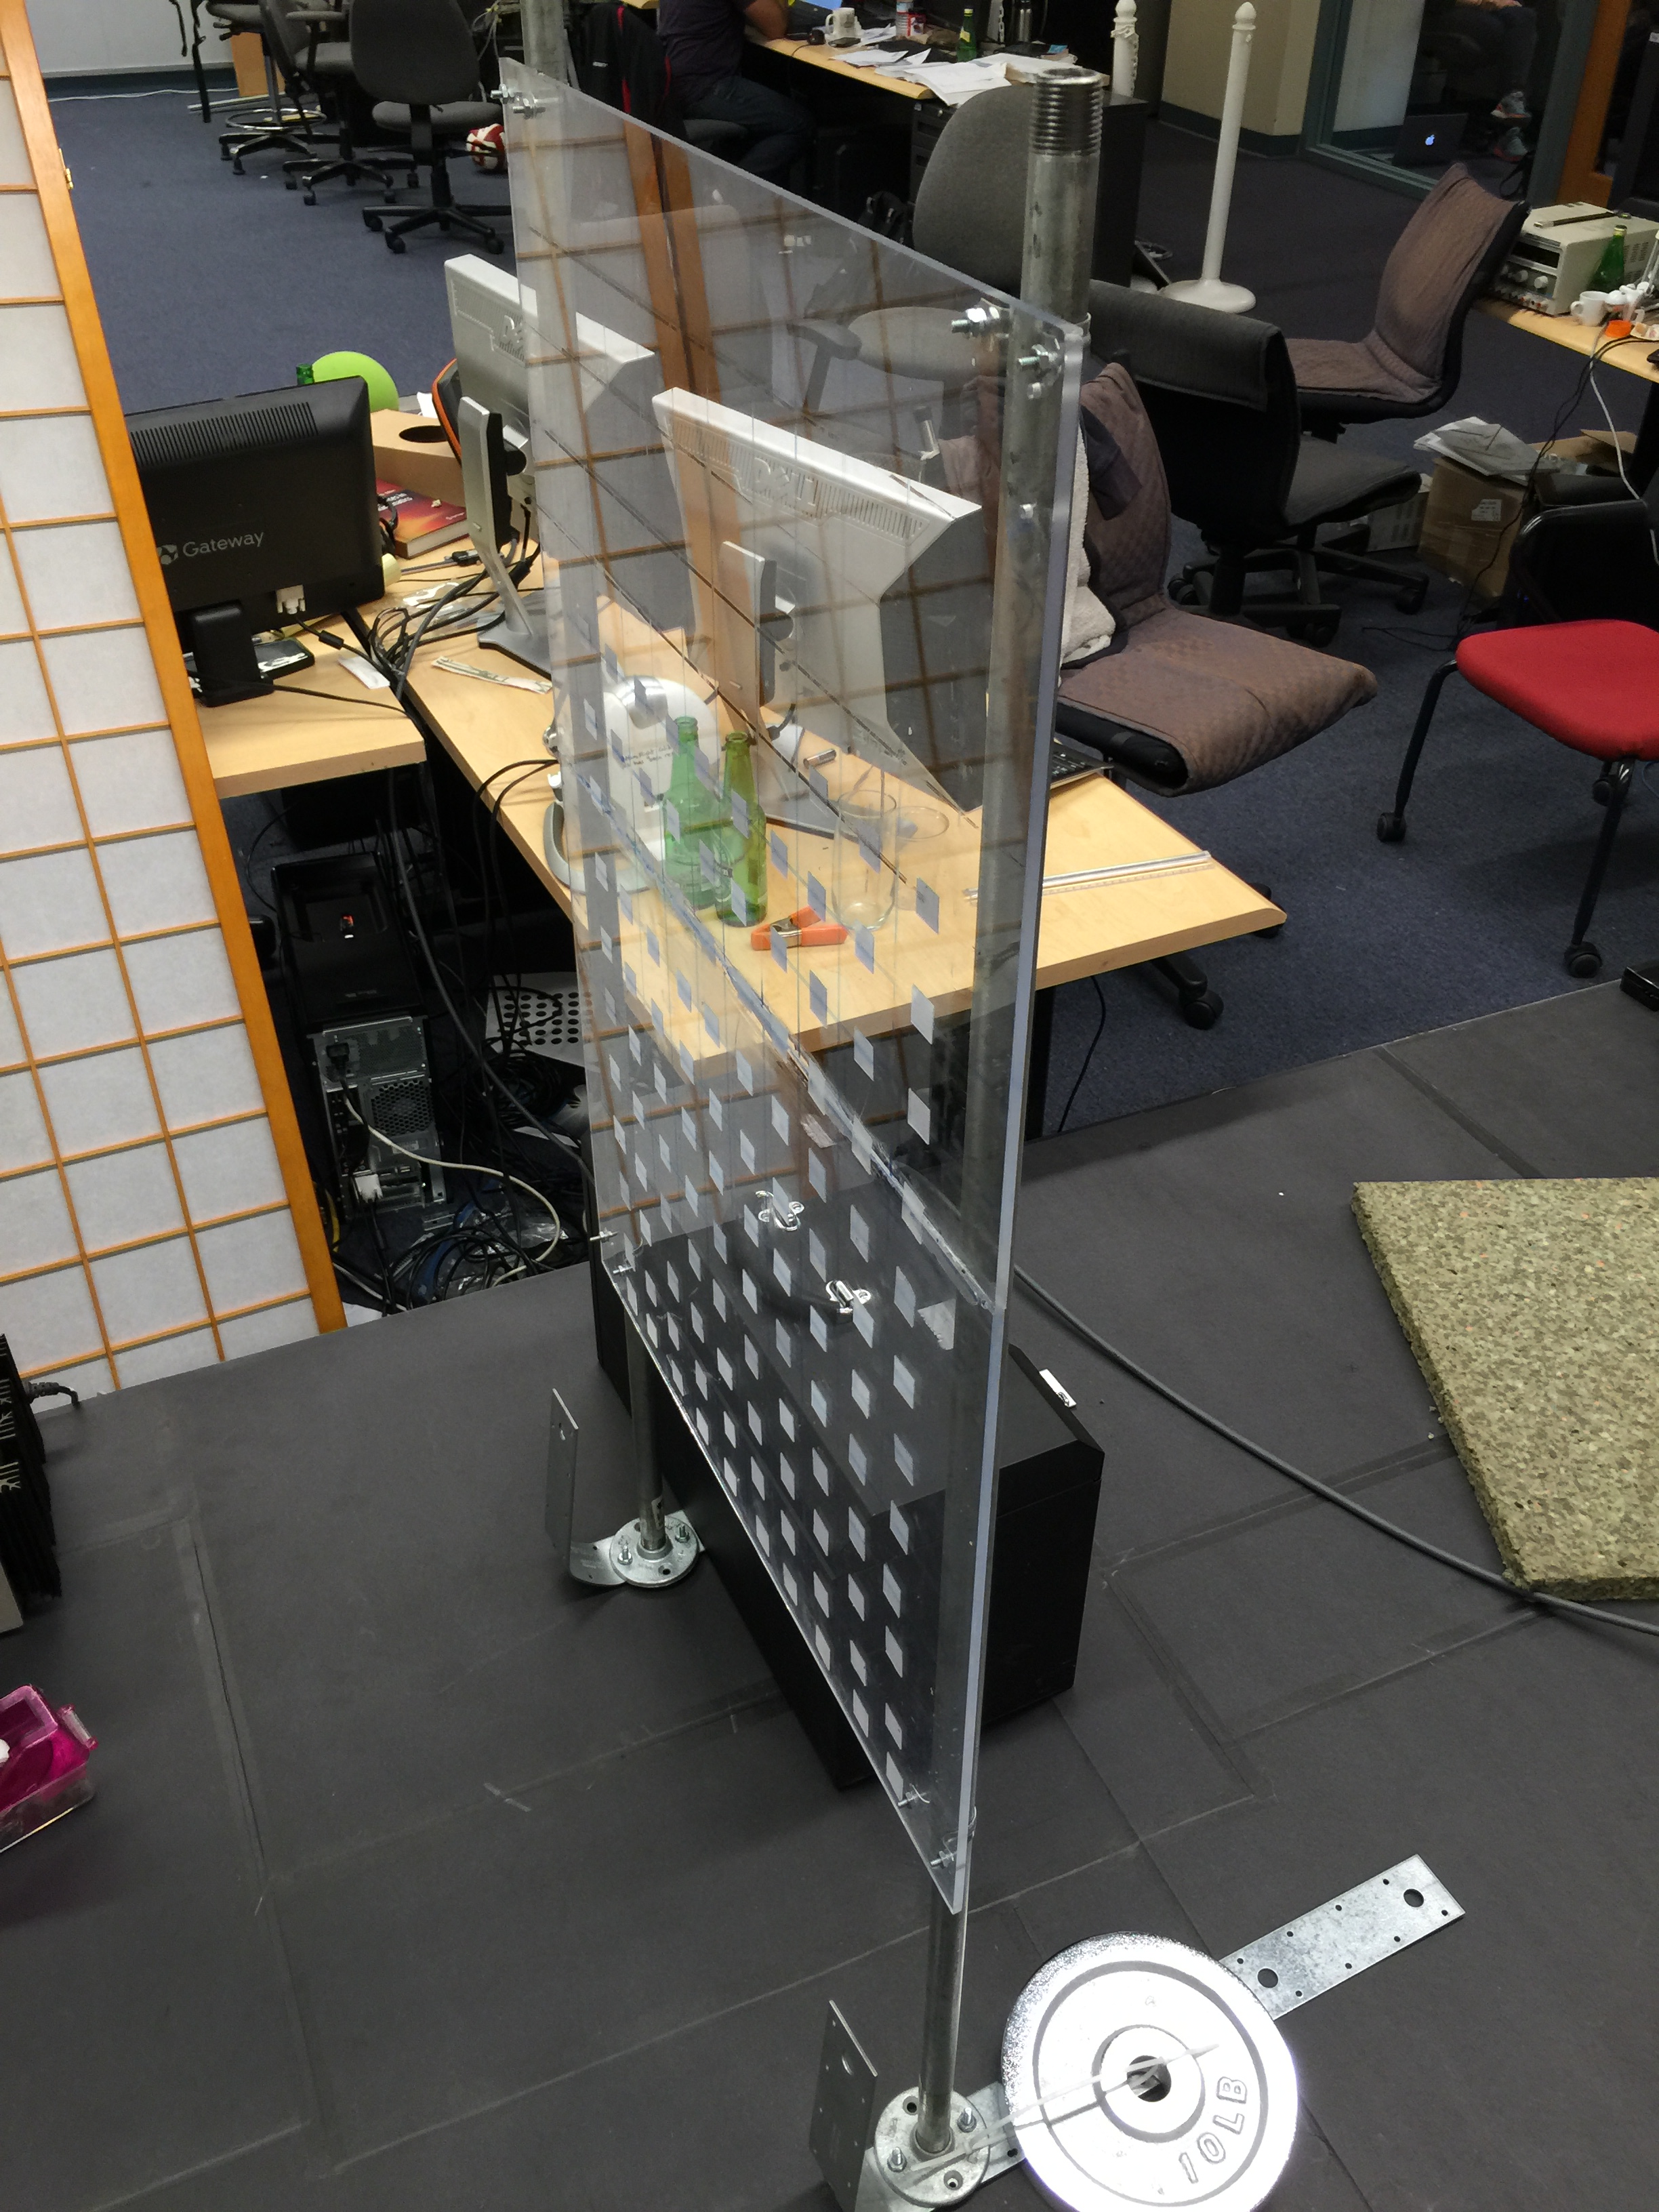
Our gameboard was a clear acrylic pane held upright by two metal poles. We stuck our tetris blocks to this pane with velcro to give the illusion that it was somewhat 2D. We again ran into the issue with compliance with placing the blocks on the pane. We tried reducing the gains again, but found that we could not reduce them too much or the end-effector — weighted down by the electromagnet — would drop out of position. Since we could not reduce the gains by very much, we ended up relying on making the pane compliant. It would yield as the robot pushed forward to attach the block.
Conclusion
In class, we learned about the theory of working with a robot. Through this project, we applied these concepts to a real-life industrial arm. We gained valuable experience addressing compliance issues, recognizing potential singularities, and simply dealing with a real robot. Given the time, we would have liked to add in some computer vision, so that the robot could recognize which piece it was picking up (to avoid needing to calibrate beforehand), and so that the robot could see its current position on the gameboard (instead of blinding following pre-calibrated coordinates). And most importantly, we spent hours of class time playing tetris.
References
- O. Khatib and K. Kolarov, “Introduction to Robotics Lecture Notes Winter 2013-2014”, 2013.